Microsoft Hints, Tips and Tricks #2 - Free Up Space Automatically on Windows 10

Jul 2020

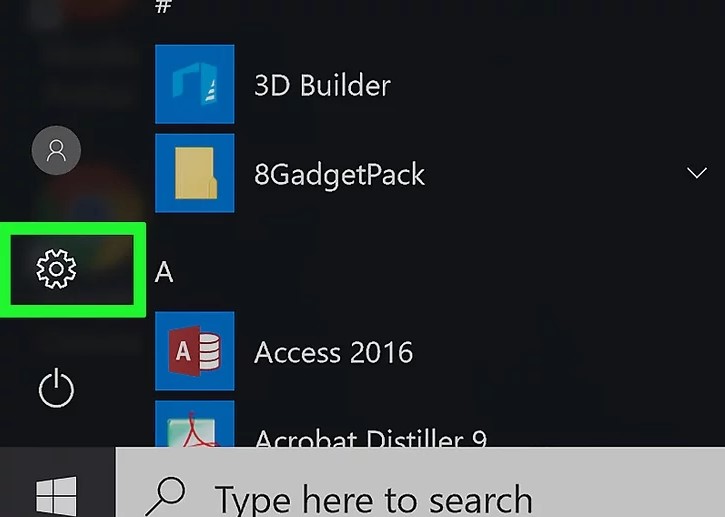
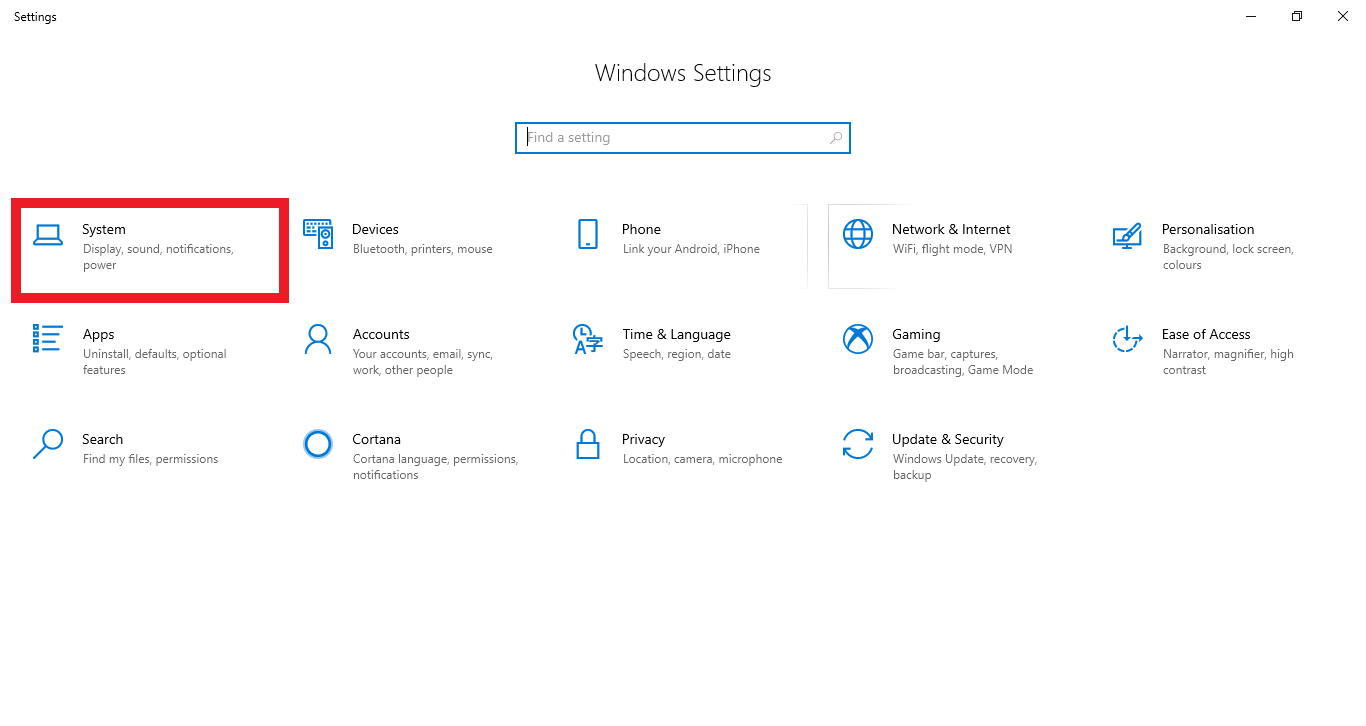
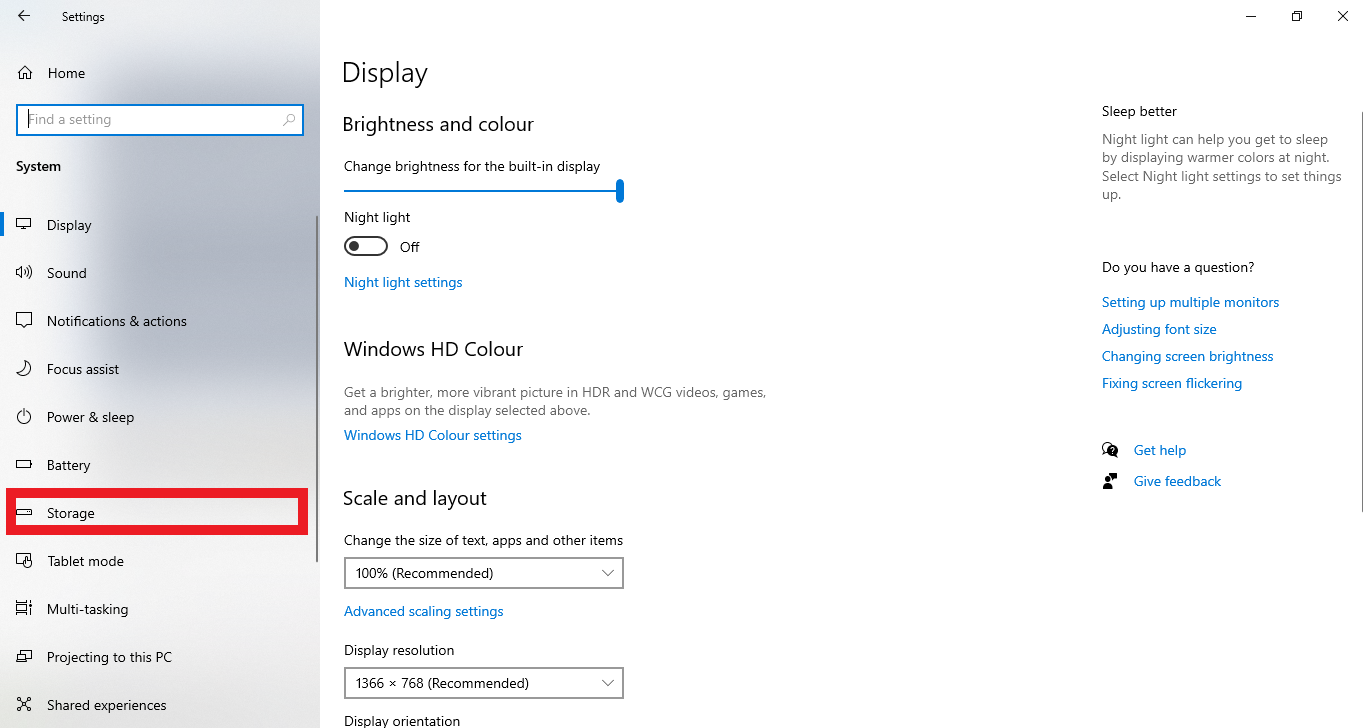
We are continuing our series of Hint, Tips and Tricks for Microsoft products and this time we're looking at saving space on your Windows 10 machine.

In this blog, the second of the series, we'll show you how you can free up space automatically by removing files that are in your downloads folder

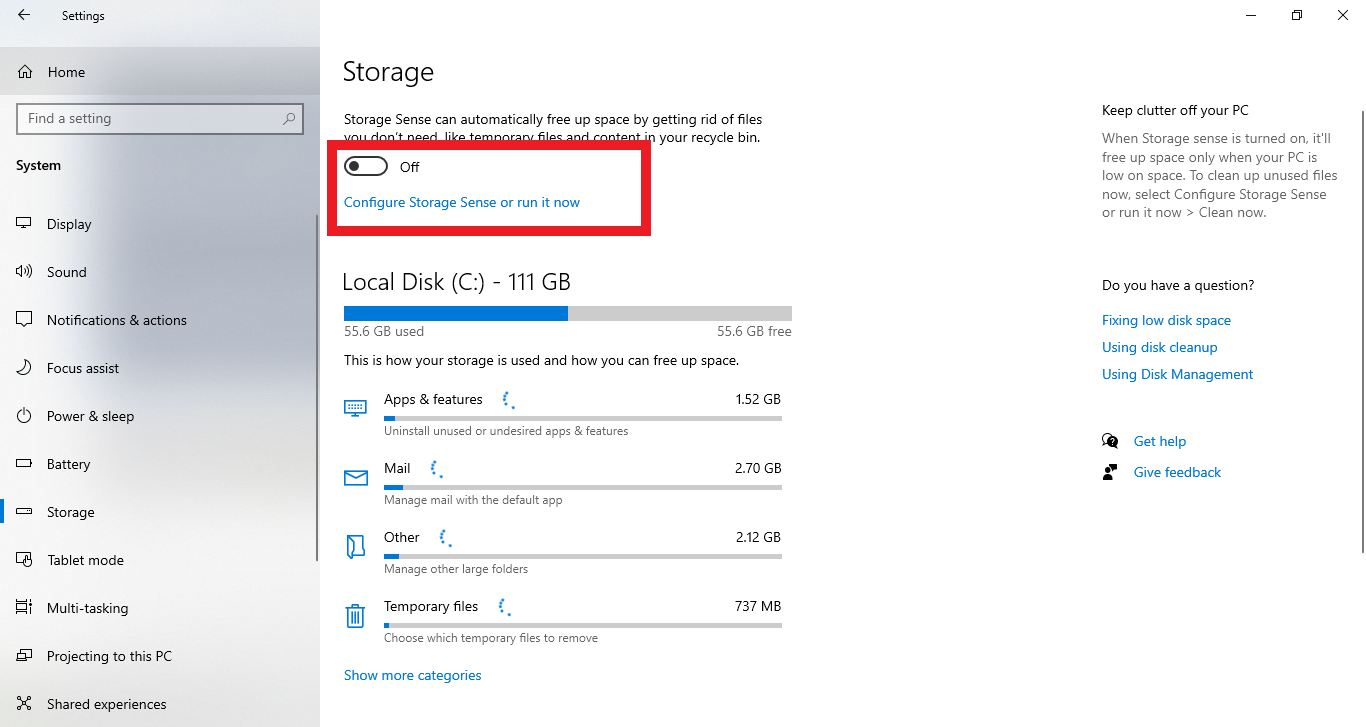
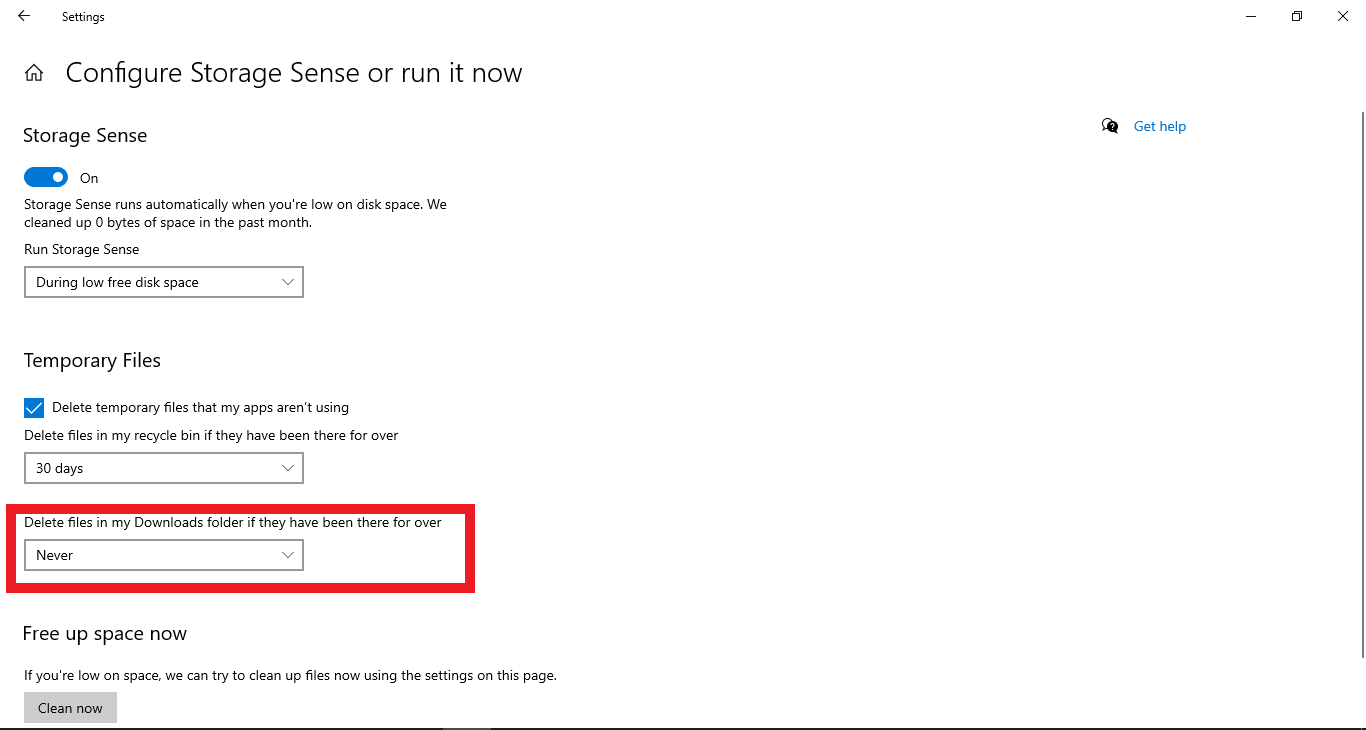
As you may be aware when downloading files such as video's, PDF's, images and software they all remain in your downloads folder using valuable space on your hard drive unless you delete them manually.

Microsoft have now added the feature, in settings, to automatically delete files if they have been there for over a set amount of days of your choosing.  There's also the option to delete temporary files that your apps aren't using and you can see both options in the image below.

 Capture4.PNG

To show you how to do this we've made a short video, which you can see below, and it shows exactly how to enable the features we've mentioned above.

There's also put a short guide below with images to show you how to do this.

1. Click on the Windows button and open settings

 aid8995045-v4-728px-Open-Windows-10-Settings-Step-1.jpg

2. Click on System

 Screen1.png

3. Click on Storage

 Screen2.png

4. Toggle the Storage Sense Button to 'On' and click on the 'Configure Storage Sense or run it now' link below the toggle

 Screen3.png

5. Click on the dropdown box underneath 'Delete files in my Downloads folder in they have been there for over' and select your time scale

 Screen4.png

And that's it all done!  You'll see at this point you can also set Temporary Files to delete also to a time scale that suits you.

Keep an eye out for further Hint, Tips and Tricks and in the meantime if you need help with any Microsoft or Windows issues please get in touch with the team at Affinity.

Recent Posts